top of page
The creation of a hand-drawn fabric pattern
from the idea to the jumper
1. Mind map, research, mood board and sample photos
From the idea to the finished product it is a long process, but good preparation makes it much easier.
Mind maps are a great help to me when it comes to finding ideas, as are mood boards and lots of photos as templates. For the color palette, I like to take a painting and pick out a few colors from it.
2. Digital sketch and preliminary drawing
I create my preliminary drawing digitally so that it can be changed more easily and cleanly. I then print it out and trace it onto high-quality paper using a light box and a ballpoint pen.
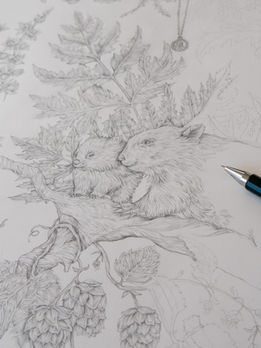
3. Pencil drawing
The preliminary drawing is now shaded with a pencil. To avoid smudging, I start on the left side and cover the right side with a piece of paper.
4. Scan, color and create a repeat pattern
I scan the finished drawing and open it in Photoshop. First, the basic colors are colored, then I work out the dark and light areas on different layers. Once I've done that, I use a thin white brush to add the light accents, which makes the design look even more three-dimensional. The finished design is then converted into a repeat pattern.
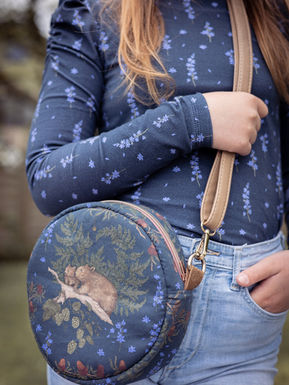
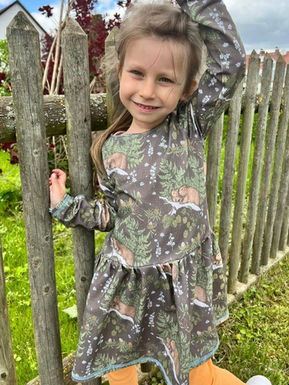
5. Prepare the print file, send it and sew it!
As a final step, I adjust the size of the design by printing it out again and again. The finished print file is then sent to the printer or company, in this case Lillestoff, and printed. The best moment for me is always seeing the finished clothes that the designers have created from it.
I love it when an idea becomes a product!
bottom of page


